As the season progresses into winter, colder weather signals time off from fieldwork. Before entering the confines of a warm shop to maintain equipment, one last task is at hand: irrigation winterization. Winterization is the removal of water from the system’s components: pump (if above ground), back-flow regulator (preventer), filter, pressure regulators, flow meter, valves, connectors, pipe, tanks, injectors, and drip tubing (Figure 1).
While many vegetable irrigation systems may be kept running during the winter months to produce cool season crops, zones that are not used until spring are ideal candidates for winterization. Before winterization, it is suggested that a 2-ppm solution of chlorine be run through the system. The chlorine can clean the system, and it should not interfere with perennial crops (such as blueberry) that are about to enter dormancy. Never mix bleach with acids or ammonia, which will form irritating and toxic compounds.

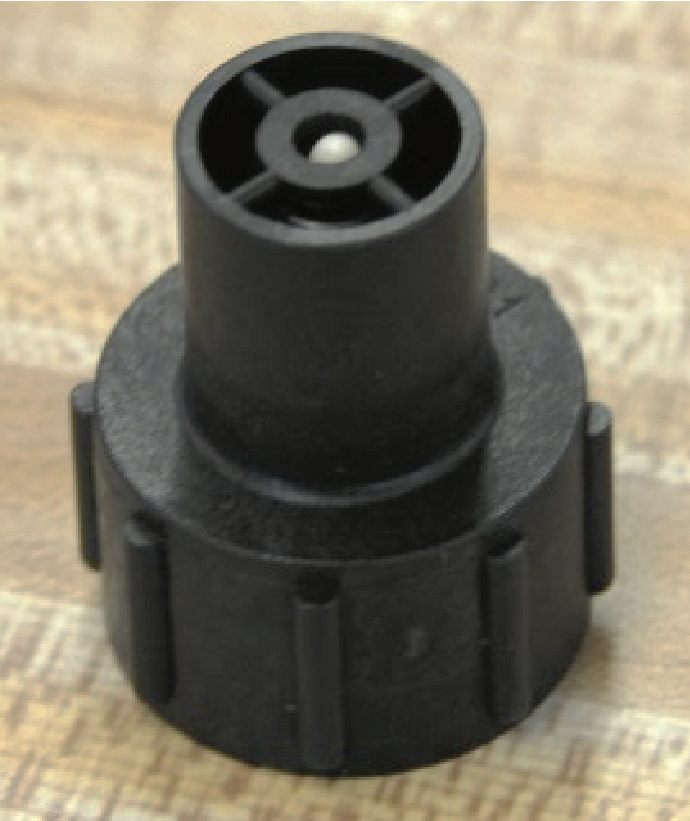
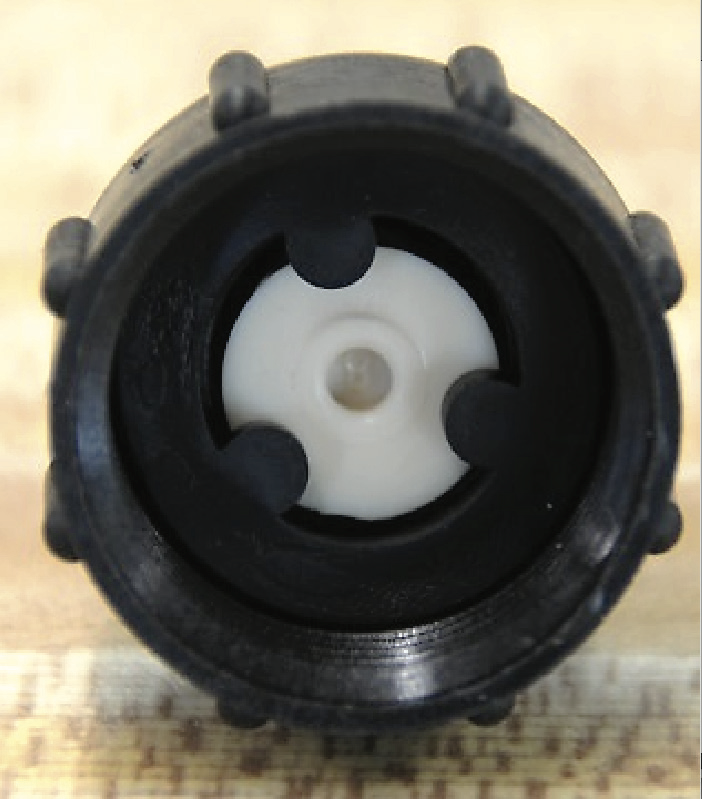
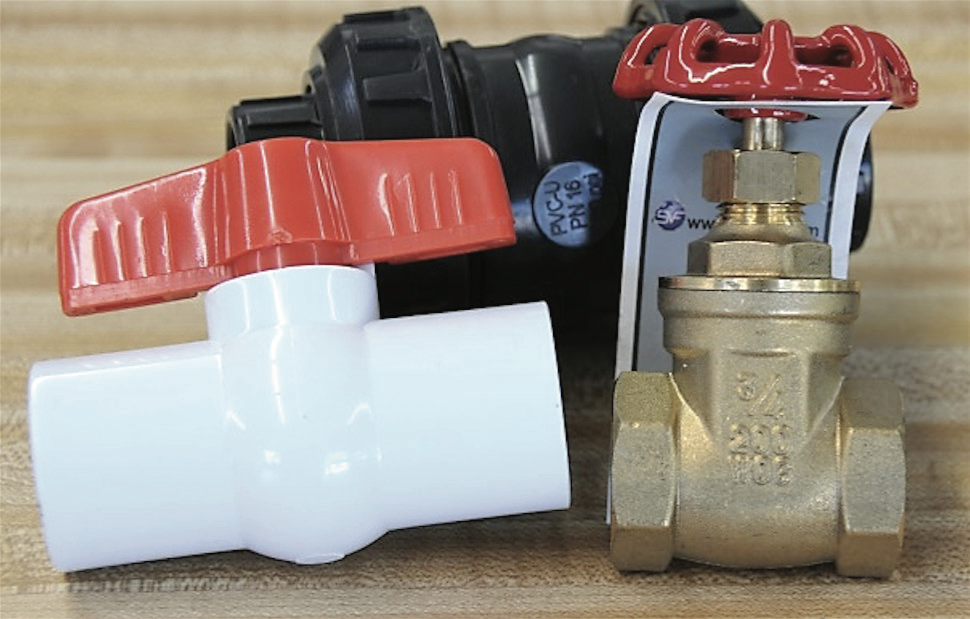
System winterization is a good time to conduct a detailed check on the operation of system components, replace damaged components, and drain the water from the system. This is preferably done before the first freeze. If not already in place, installing automatic drain valves (ADV; Figure 2) or flush valves will help to remove water from systems that are on flat ground or have low points. Most ADVs are pressure-activated rubber valves that close at 9–10 psi. When pressure drops below a predetermined level, the valve opens. ADVs are installed downstream of the control valves and work well when positioned at low points in an irrigation zone, allowing water to drain from the system. If ADVs have not been installed, manual valves (Figure 3) placed at low points in the system work in the same fashion with a little more manual effort. However, ADVs and manual valves cannot completely drain all of the components. The following are some suggestions for winterization of your drip irrigation system.
Winterization Check List:
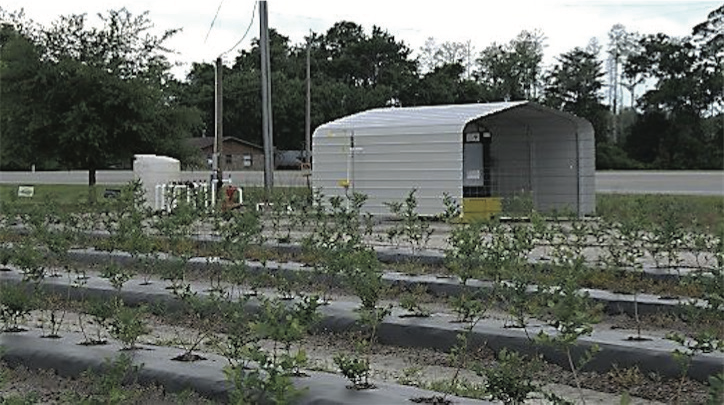
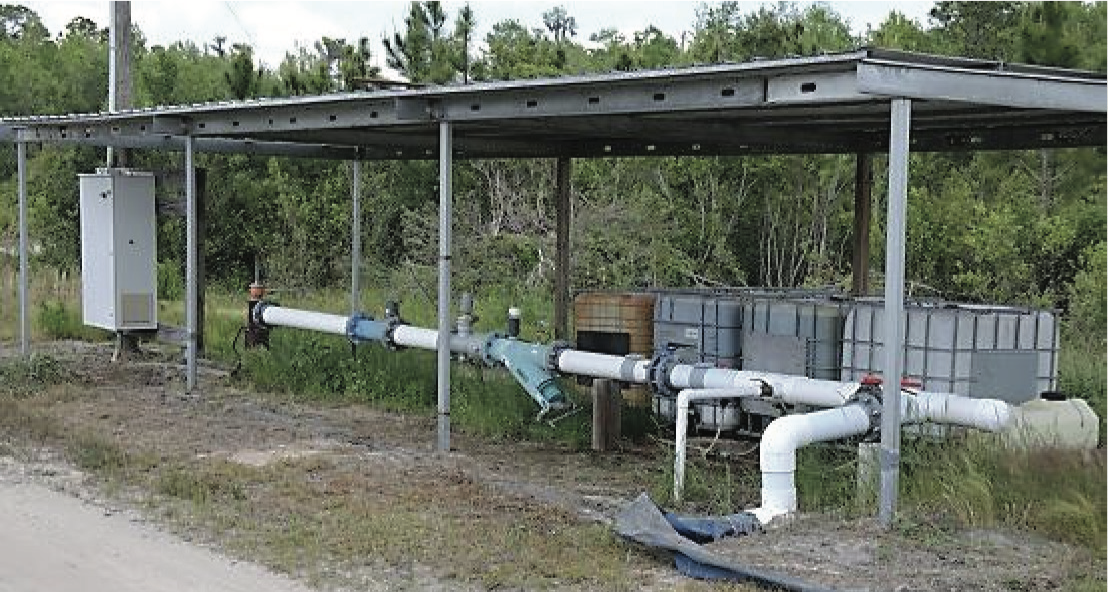
Power units—Power units should be sealed to protect from critter nesting, moisture, and debris like pine needles and leaves. To achieve this, wrap combustion or electric motors in tarps or have the unit protected by a shed (Figure 4). Place exclusion barriers on the equipment where wind-blown debris and critters cannot enter. For more information, see UGA Extension Circular 1093.
Pumping system—If operating an aboveground centrifugal pump, the pump housing will need to be drained. Usually, manufacturers place a threaded plug at the base of the pump housing for this purpose. However, the plugs may be difficult to remove once the pump is mounted. Installing a valve where the plug was threaded into the pump housing makes draining the pump much easier. For turbine or submersible pumps, the installation is usually below the frost/freeze line in the soil and will not need special attention.
Suction (intake) line (for surface water)—Pull the line from the water reservoir, drain water from the line, and verify that the intake line and screen are clear. After draining the pipe, cover the open ends to keep critters from entering the pipe. This keeps nesting material and other debris from entering the pipe, which could eventually be drawn into the pump impeller.
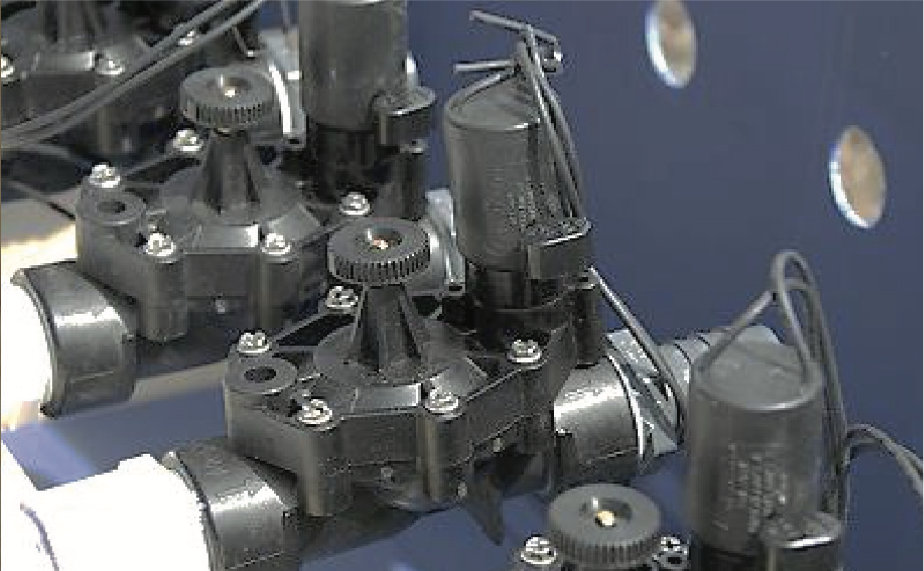
Valves, components, and piping—From the backflow valve through the system, it is important to drain water from components, piping, andany elbows, low points, and isolated piping. Open all valves, as closed gate and ball valves trap water and can crack/break when repeated freeze/ thaw cycles occur. Solenoid valves should be left in an open position. To do this without removing the valve, either unscrew the bleeder knob, which is usually located on the top of the valve (1⁄4–1⁄2 turn is sufficient), or unscrew the solenoid a 1⁄4 turn, which is the part with the wires protruding (Figure 5).
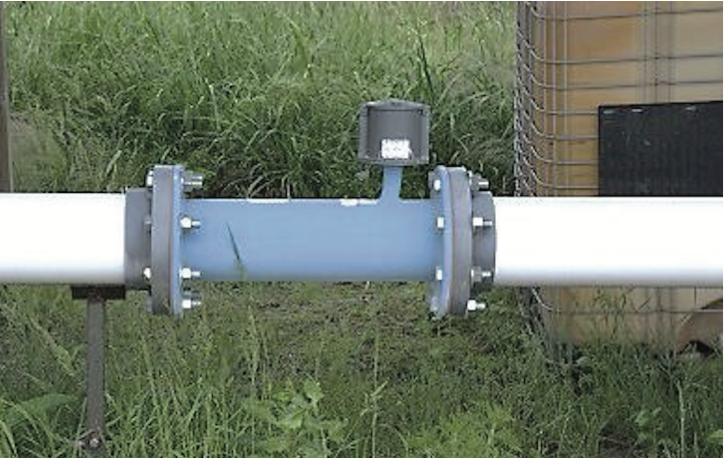
Other inline components—Other inline components should be inspected and drained of water. Flow meters (Figure 6), pressure gauges, manual valves, air-vacuum relief valves, and back-pressure valves are usually mounted on the top or side of a water line to ensure that water does not collect in the housing of the device. If mounted at a low point or at the underside of a line, take extra precautions to drain the device, which may involve removing the device from the line to allow it to drain. The screen and sand filters should be drained, inspected, and cleaned.
Electrical systems—ELECTRICITY KILLS. USE PROPER SAFETY PROCEDURES when checking these systems. Generally, electrical pumps for irrigation are run with alternating current (AC) at 60 Hz (cycles per second). For greater water demand voltages—as high as 480 V—three-phase electrical power sources are used to run motors.
Remember one rule of thumb for handling electrical figures: NEVER GRAB A FIXTURE WITH YOUR PALM DOWN. Use the back of your bare hand. If the fixture is charged, the natural muscle contraction will cause your hand to pull away from the fixture instead of grabbing it.
If you are unsure about any part of the electrical inspection, CALL A LICENSED ELECTRICIAN!
The ampere (amp) is a measure of energy or electricity moving (current) through the line. It is the ampere that makes muscles contract, causing the hand to grab on to a live electrical line and not let go. At 30 mA being pushed at 60 cycles, sustained contact can cause tissue damage and lead to ventricular fibrillation, heart attack, or death. Good safety practices include using a lock-out/tag-out system, keeping systems properly grounded, and maintaining a properly functioning multimeter.
When first handling electrical fixtures, fill out tags, put locks on the breakers, wear rubber soled shoes, and remember that the first item to enter a fixture, service box, or controller should be the probes of the volt meter to check if any of the lines are hot.
Once this is done, inspect and replace all damaged wires for damage. Then tighten all contacts. Resistance is measured in ohms, which results in heat, and as metal heats and cools, contacts loosen and create greater resistance. This increased resistance can cause fuses to blow and breakers to trip. Look for signs of burns, water leaks, and wear on individual components.
Chemigation System Winterization Check List
Chemical injection systems are available in simple to sophisticated systems that apply exact amounts of product. However, they all need maintenance and a thorough inspection before operation.
If injecting acid, use extreme caution when working with the system, and wear a face shield, acid-resistant rubber gloves, and an acid-resistant apron. In addition, have an eyewash and safety shower immediately accessible.
Even when working on a non-acid injection system, the proper protective gear should be used to prevent exposure to the products being injected. The personal protective equipment (PPE) is listed on the label of the product and is a function of the product’s chemistry. Always use the highest level of PPE recommended from the label to minimize the risk of exposure. Remember that the injection system has the most concentrated formula passing through it!
Fertilizer injection systems often represent a weak point in winterization. Because injection systems handle concentrated salt solutions, precipitation due to evaporation of water or during cold weather can result in problems when the system is reactivated in the spring.
Fertilizer precipitates can clog systems and ruin injectors. In addition, the high salt content can lead to rapid corrosion of expensive metallic parts in the system, resulting in expensive repairs. To avoid costly repairs and lost production time, unhook fertilizer tanks and run clean water throughout the injection components to remove concentrated fertilizer and any salt build-up.
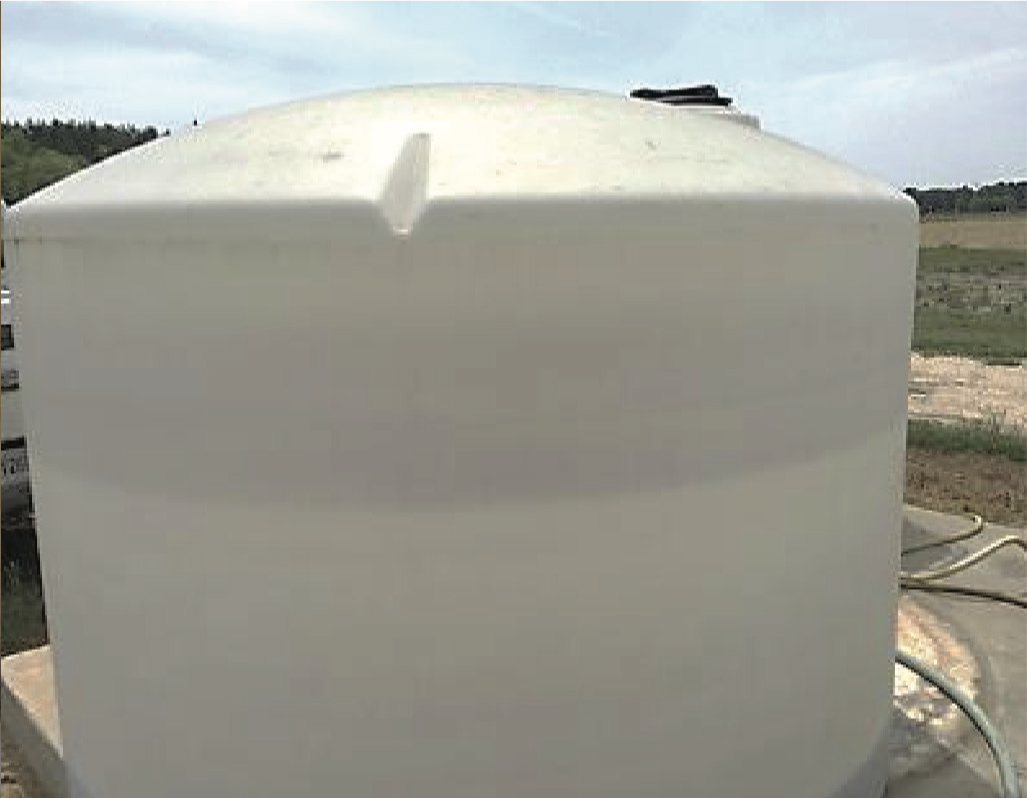
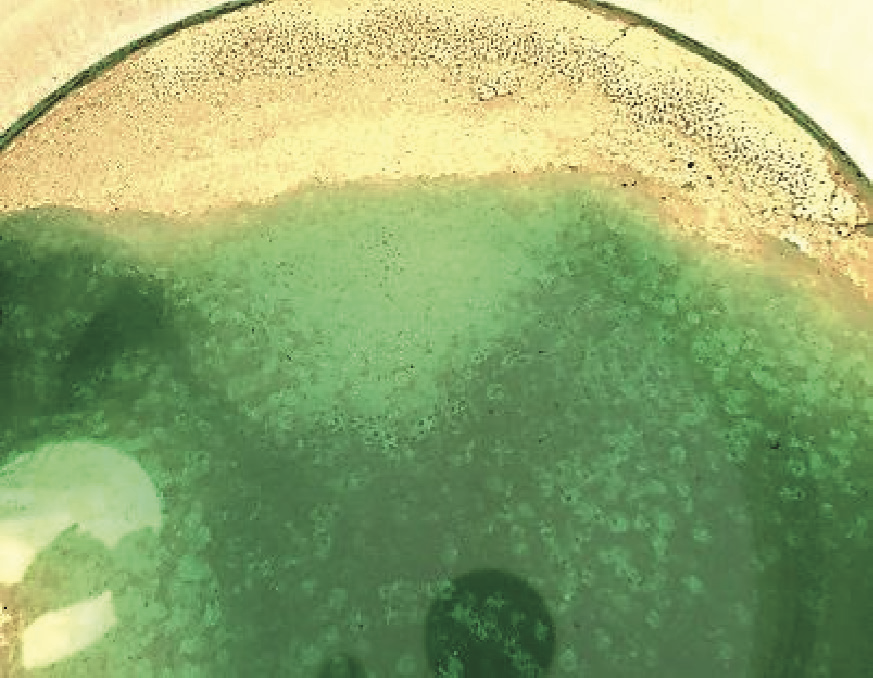
Fertilizer tanks that remain unattended through the winter can precipitate salts (Figure 7). Generally, the salts form a layer at the bottom of the tank, completely clogging outlets. Draining and rinsing the fertilization tank regularly and at winterization can minimize problems of salt build-up and damage.
Always drain fertilizers and tank rinses into a suitable container to be either recycled or disposed of in accordance to county, state, and federal regulations. If uncertain about the proper procedure, contact your county agent.
Venturi injectors (Figure 8)—Venturi injectors are generally manufactured with polypropylene, polyvinylidene fluoride, ethylene chlorotrifluoroethylene, or stainless steel, with varying degrees of tolerance to the chemistries ofinjected products and the environment.
Removal of the injector and storage in a climate-controlled area such as a shop is recommended to minimize weatherization. This includes lines and filters. If the injector intake is connected to a large reservoir or feed tank of fertilizer or acid, close the valve from the tank, run irrigation water through the chemigation hoses, cap off the valves on the feed tanks and store the hoses with the injector.

Mechanical pumps—Use the manufacturer’s recommendations for servicing your unit. Inspect and clean around the unit. Look for cracks, weathering, and dirt, and replace and clean where necessary. Inspect the valves and couplers from the feed tanks to the pump.
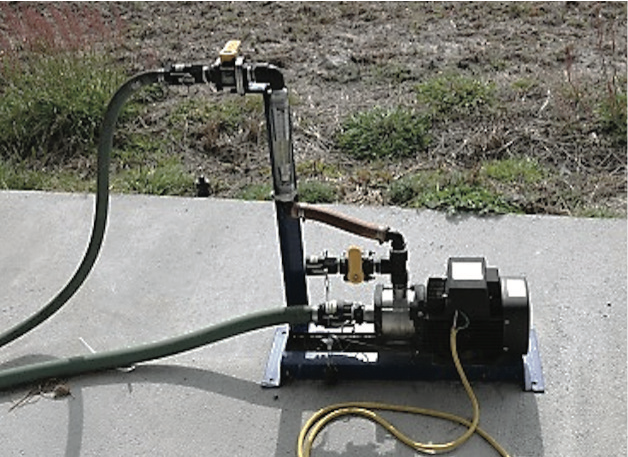
In Figure 9, a variable in-line flow meter is being used for chemigation. The manufacturer’s website provides technical data sheets with recommended maintenance for each of its models. Like the venturi injectors, use water to clean the pump and lines, and when possible, store the pump in a shop. Cap the valves to feed tanks and store connection hoses with the pump.
Winterization Run-Down Check List:
-
Open drain valves and flush the system with 2 ppm chlorine (0.75 ml/100 gallons of water, with no acid or other injected products).
-
Flush fertilizer injector system with water and chlorine.
-
Drain the system.
- Disconnect and drain any pipe or component in which water cannot be drained by gravity.
- Clean, inspect, and drain filters.
- Drain centrifugal pump housing.
-
Inspect the system, note any parts that are damaged or worn, and prepare to replace those parts before the system will be put back into operation. Replacing worn and non-working parts before winter can save valuable time in the spring when the system is required for irrigation.
-
Pull the suction line from the water reservoir (if applicable). Clean screens, drain, and cover any openings to keep critters and debris out.
-
Place exclusion barriers around pump power units to eliminate critter nesting and wind-blown debris from collecting.
-
Clean and store the chemigation systems. If the systems will be exposed to the elements, drain thoroughly and protect the units from the weather. Clean, drain, and coil up any hoses associated with the system to prevent damage, especially from critters.
-
Ensure that no wires are exposed and that weatherproof boxes are sealed. Place a desiccant (such as silica gel packets) inside electrical boxes to minimize moisture.
Status and Revision History
Published on Aug 09, 2016


