- Planting Tall Fescue Lawns
- Soil Bag Flower Beds: An Alternative to Soil Amending
- Plant Pansies Like the Pros
- Fall is Collard, Turnip and Cabbage Planting Time
- Plant Now to Pick Fruit Later
- Leaves: Nature's Homemade Mulch
- Doing a Few Chores Now Will Prepare Your Garden for Later
- Clean and Oil Garden Tools for Winter Storage
- Fire Ant Treatment Time
- Expert Advice and Free Resources Help Your Garden Grow Year-Round
Planting Tall Fescue Lawns
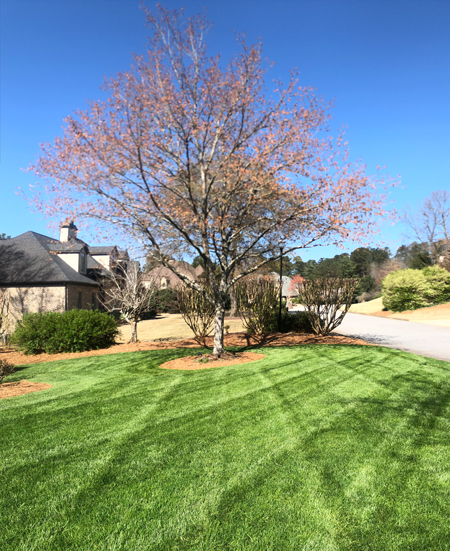
Tall fescue is a popular cool-season grass species known to have a bunching growth habit. Best adapted to Georgia's Piedmont, tall fescue is used for home lawns, general areas and soil stabilization. In general, the southern boundary for tall fescue would be Griffin, GA, although it can be found in shaded or protected microclimates farther south.
Because it can be seeded, tall fescue is popular with do-it-yourself home landscapers. It's also popular because of its genetically dark green color during the spring and fall. Research also shows that some turf-type cultivars have deep, extensive root systems and other genetic characteristics for improved drought tolerance.
For success in establishing a new tall fescue lawn, consider the following techniques and practices:
Establishment
For cool-season species, like tall fescue, September and October are the ideal months to seed or sod. Grass established earlier is subject to heat stress and diseases, while planting later leaves the plants vulnerable to cold weather. When seeded under favorable environmental conditions, tall fescue seed will germinate in 5 to 10 days and be ready for its first mowing between 2 and 3 weeks. However, if tall fescue is to be seeded after mid-November, it is suggested to wait until mid-February to plant, as air and soil temperatures should be on the rise. Seeding in December and mid- to late spring (i.e., after April) generally is not recommended because the plant does not have adequate time to develop the deep root system needed to survive Georgia’s hot summers.
Soil preparation
Proper soil preparation is critical for effective seed establishment. Ridding the lawn of debris, tilling, incorporating lime and fertilizer, and smoothing the surface are all necessary prior to seeding.
Add amendments, like organic matter or topsoil, and till thoroughly into the existing soil. Next, level the area and collect a soil sample to obtain soil fertilizer recommendations. Then, incorporate the recommended starter fertilizer and lime 3 to 4 inches into the soil. If equipment permits, tilling deeper is always better.
Seeding
To ensure varietal purity, plant seed that is certified, which is identified by a blue tag. This seed has been tested, and the law assures the product information. In retail markets, most tall fescue seed is blended, meaning several tall fescue cultivars have been mixed together.
The ideal seeding rate for tall fescue is 5 to 6 lb per 1,000 sq ft. To minimize skips and gaps, divide the seed into two equal portions and broadcast half in one direction and the remainder at a right angle to the first direction. This broadcast procedure is also recommended for fertilizer and granular pesticide applications.
The seed can be lightly raked into the upper 1/4 in. of soil or pressed into the seedbed with a roller. Apply a straw mulch to retain moisture, which will improve germination and prevent erosion.
Irrigation
After seeding, keep the upper 1 to 2 in. of soil moist, not wet. Moisture is necessary for uniform germination. This usually means daily watering of up to 1/4 in. for the first 3 weeks. The 2010 Water Stewardship Act allows for proper irrigation to achieve germination and growth.
As the seedlings develop, irrigate more deeply but less frequently. Under good conditions, tall fescue seed will germinate in 5 to 10 days and be ready for its first mowing in 2 to 3 weeks.
Mowing
Begin mowing at a height of 2 in. As the seedlings mature, raise the cutting height to the 2.5- to 3-in. range. Once mature, the lawn can be maintained between 2 to 2.5 in., but a height of 3 in. is suggested during the summer months.
Use a mower with a sharp blade and mow often enough so no more than a third of the leaf height is removed in a single mowing. Do not mow grass when it is wet, especially when mowing young seedlings.
Timing
Successful tall fescue seeding depends on proper soil preparation, good soil-to-seed contact and proper water management. September is the ideal month to establish tall fescue.
For more information on planting and maintaining turfgrass in Georgia, visit www.GeorgiaTurf.com.
Soil Bag Flower Beds: An Alternative to Soil Amending
Growing annual flowers in native soils can be a challenge in Georgia. Clay soils, though fertile, are often poorly drained, leading to root diseases. Sandy soils are generally less fertile, but may drain too quickly, making it hard to keep flowers watered and fed. Planting directly into a good bag of potting soil could be a better option.
University of Georgia Cooperative Extension experts say the key to improving soil is adding organic amendments. But sometimes, even adding organic matter yearly to flowerbeds doesn't guarantee bountiful blooms.
In my personal garden, pine tree roots were a problem. It was difficult to work the compost in, and then the tree roots would grow up into the improved soil and take up the water and nutrients that were meant for the annual plants.
This spring, tired of working so hard to keep my summer annuals growing in clay soils and going broke from buying containers, I decided to try planting right in the bags of potting soil. First I did some research. I read UGA Extension publications online and found some information on growing vegetables in bags, but not much on flowers.
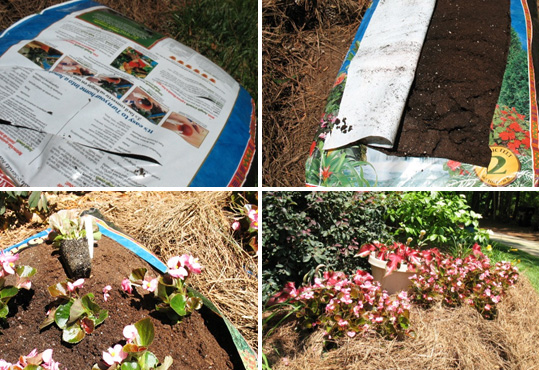
I decided to conduct my own research. First, I bought three 2-cubic-foot bags of potting soil from the home improvement store and laid them out where I wanted my flowers. I chose a potting mix that was moisture-retentive for summer planting, but for fall or winter plantings I would suggest using another mix. Waterlogged soils can kill annual plants.
Laying the bag flat, I cut drainage slits into one side of the bag. Next, I turned the bag over into place. Once I settled the bag and smoothed the soil, I used a razor knife to cut out a rectangle, leaving about 2 to 3 in. of plastic all the way around to help keep the soil from washing out of the bag when I water the plants.
As it was summer, I added begonias and a small amount of slow-release fertilizer. Lastly, I mulched over and around the bags with pine straw.
A few weeks out, the only drawback was keeping the mulch covering the plastic bag. The pine straw kept slipping and exposing the plastic. In an effort to prevent this, I cut two strips from a burlap coffee sack and tucked them over the front of the bags. This helped keep the pine straw in place.
Overall, the bag-planting experiment worked well. I plan to try this method this fall using violas, kale and other cool season annuals. If you have problems with your soil, give this technique a try for your fall annuals.
Plant Pansies Like the Pros
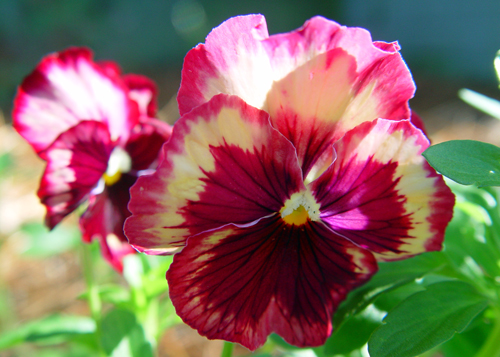
With their colorful faces and cold-weather tolerance, pansies are an easy landscape addition if they are installed correctly. A University of Georgia plant expert who specializes in helping Georgia's landscapers says planting like the pros is the best way to have beautiful flowers and avoid heartaches and backaches.
“If you're going to spend your money on flowers, you might as well do it right,” said Gary Wade, a UGA Cooperative Extension horticulturist.
During his 26 years helping make Georgia more beautiful through plants, he's come up with a few pansy-planting pointers.
Top Tips
Don't plant more than you can maintain.
“Annual flowers are high maintenance and require a lot of care to keep them looking their best,” Wade said.
Plant at the right time of year.
Georgia has three pansy zones. In cooler north Georgia, install them between Sept. 15 and Oct. 1. In middle Georgia, plant between Oct. 1 and Oct. 15. In warm south Georgia, wait until Oct. 15 to Nov. 1 to plant.
“If you plant too early, the warm weather can make pansies stretch and become leggy,” Wade said.
Landscapers usually purchase flowers grown in 4-in. containers. These plants cost more than those grown in smaller six-packs. But because they have larger root systems, they will establish more quickly, produce more flowers earlier and be ready to weather the winter.
Lots of Color, Variety of Faces
Pansies come in a wide variety of colors. Wade suggests planting white, gold and yellow pansies with purple. Bright yellow and orange blooms go well with darker maroon and blue. The combinations are almost limitless.
“There are some plants out now that are pretty much UGA red,” Wade said.
Pansy blooms can be solid colors, or they can have shades of pastel colors. Traditional pansies have dark centers surrounded by a lighter color (known as faced pansies). For smaller flowers, plant violas.
Planting Perfection
After choosing the perfect colors in larger pots and buying at the right time of year, planting is the next step toward pansy perfection, Wade said.
1. Choose a spot that gets full sun and drains well to prevent disease problems.
2. Prepare the bed. Commercial landscapers plant pansies on beds raised 6 to 12 in. above the surrounding soil. This assures good drainage and improves visibility. When re-planting old beds, remove old mulch to avoid plant diseases. Top new beds with 4 in. of organic matter (such as compost), and work it into the bed about a foot deep.
3. Broadcast fertilizer, such as 10-10-10, at a rate of 2 cups per 100 sq ft over the bed. Rake it into the top 4 in. of soil.
4. Plan your bed. Lay out the plants in their pots on the bed, spacing them 8 to 10 in. apart. Rearrange the pots until you get the bed looking just right.
5. Plant the pansy bed from the inside out so you won't crush any plants. Carefully remove each plant from its container, dig a hole and plant it.
6. Mulch plants with 2 to 3 in. of pine straw, pine bark mini-nuggets or shredded hardwood mulch. Carefully place the mulch around the plants, and brush excess mulch off the leaves, Wade said.
7. Water the plants with a hand-held hose or watering can. Once the bed is thoroughly wet, apply liquid fertilizer, such as 20-20-20 or 15-30-15, which is absorbed by both foliage and roots.
8. Keep the bed moist, but not too wet. Water between 6 a.m. and 9 a.m. “Don't water in late evening because the water won't evaporate and will encourage diseases,” Wade said. Apply liquid fertilizer once a month throughout the winter.
9. Groom pansy beds once a week by removing spent blossoms and seedpods. Seedpods zap the plant's energy. Old blossoms may harbor diseases.
Fall is Collard, Turnip, and Cabbage Planting Time
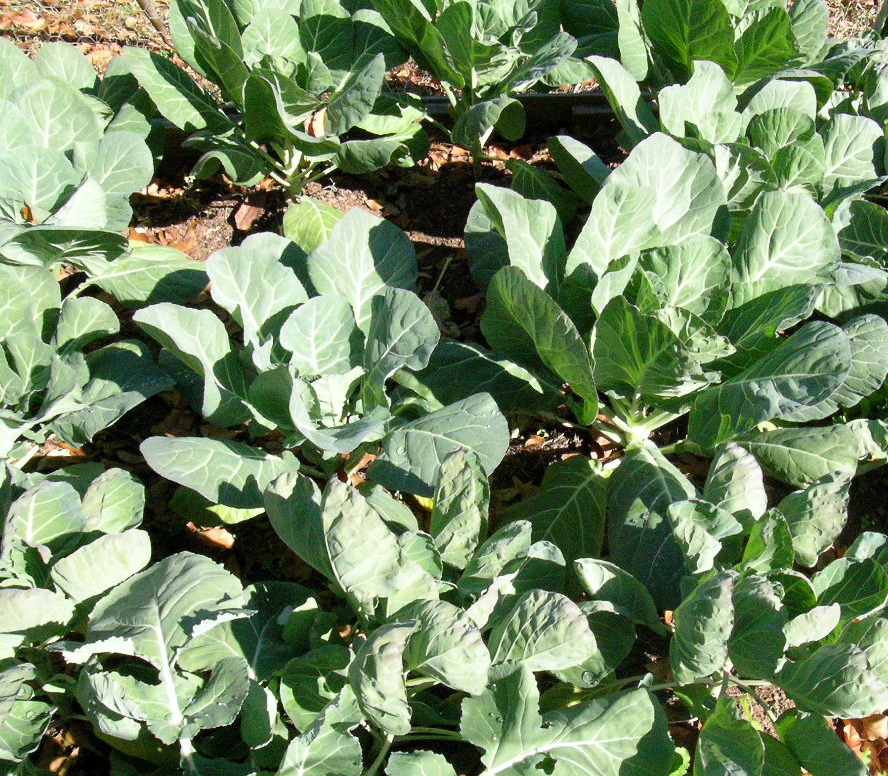
As summer vegetables like corn and beans stop bearing, it's time for home gardeners to start preparing fall gardens of cool-season vegetables.
If you have a summer vegetable garden, chop up these plants with your lawn mower and incorporate them along with a balanced fertilizer such as 10-10-10 into your garden with a tiller. You also may want to have your soil tested to determine how much fertilizer and lime to add if any is needed.
In Georgia, it can be very challenging to get cool-season vegetables through the end of summer. There is a delicate balance between starting them early enough to allow them to mature (50 to 60 days) before a hard frost and getting them through the end of a hot, dry summer.
Start seeds in August for broccoli, cabbage, cauliflower, collards, kale, turnips, radishes, spinach, lettuce, beets and onions. It is best to use a store-bought potting mix to start seeds in containers, flats or trays. Place the seeds in a partially shaded spot and keep them watered, and you will have seedlings ready to transplant in September. Onion sets can be transplanted later in October.
Most vegetables can be purchased as ready-to-transplant seedlings from garden centers if you don't want to start from seeds.
Keeping young seedlings watered is critical to establishing them. You also have to keep a sharp eye out for pest problems such as insects, diseases and weeds because they will continue to flourish in warm temperatures and high humidity. A layer of newspaper and mulch placed between rows can prevent a lot of weed problems and help conserve soil moisture.
Contact your local University of Georgia Cooperative Extension office at 1-800-ASK-UGA1 for more information on growing fall vegetable gardens.
Plant Now to Pick Fruit Later
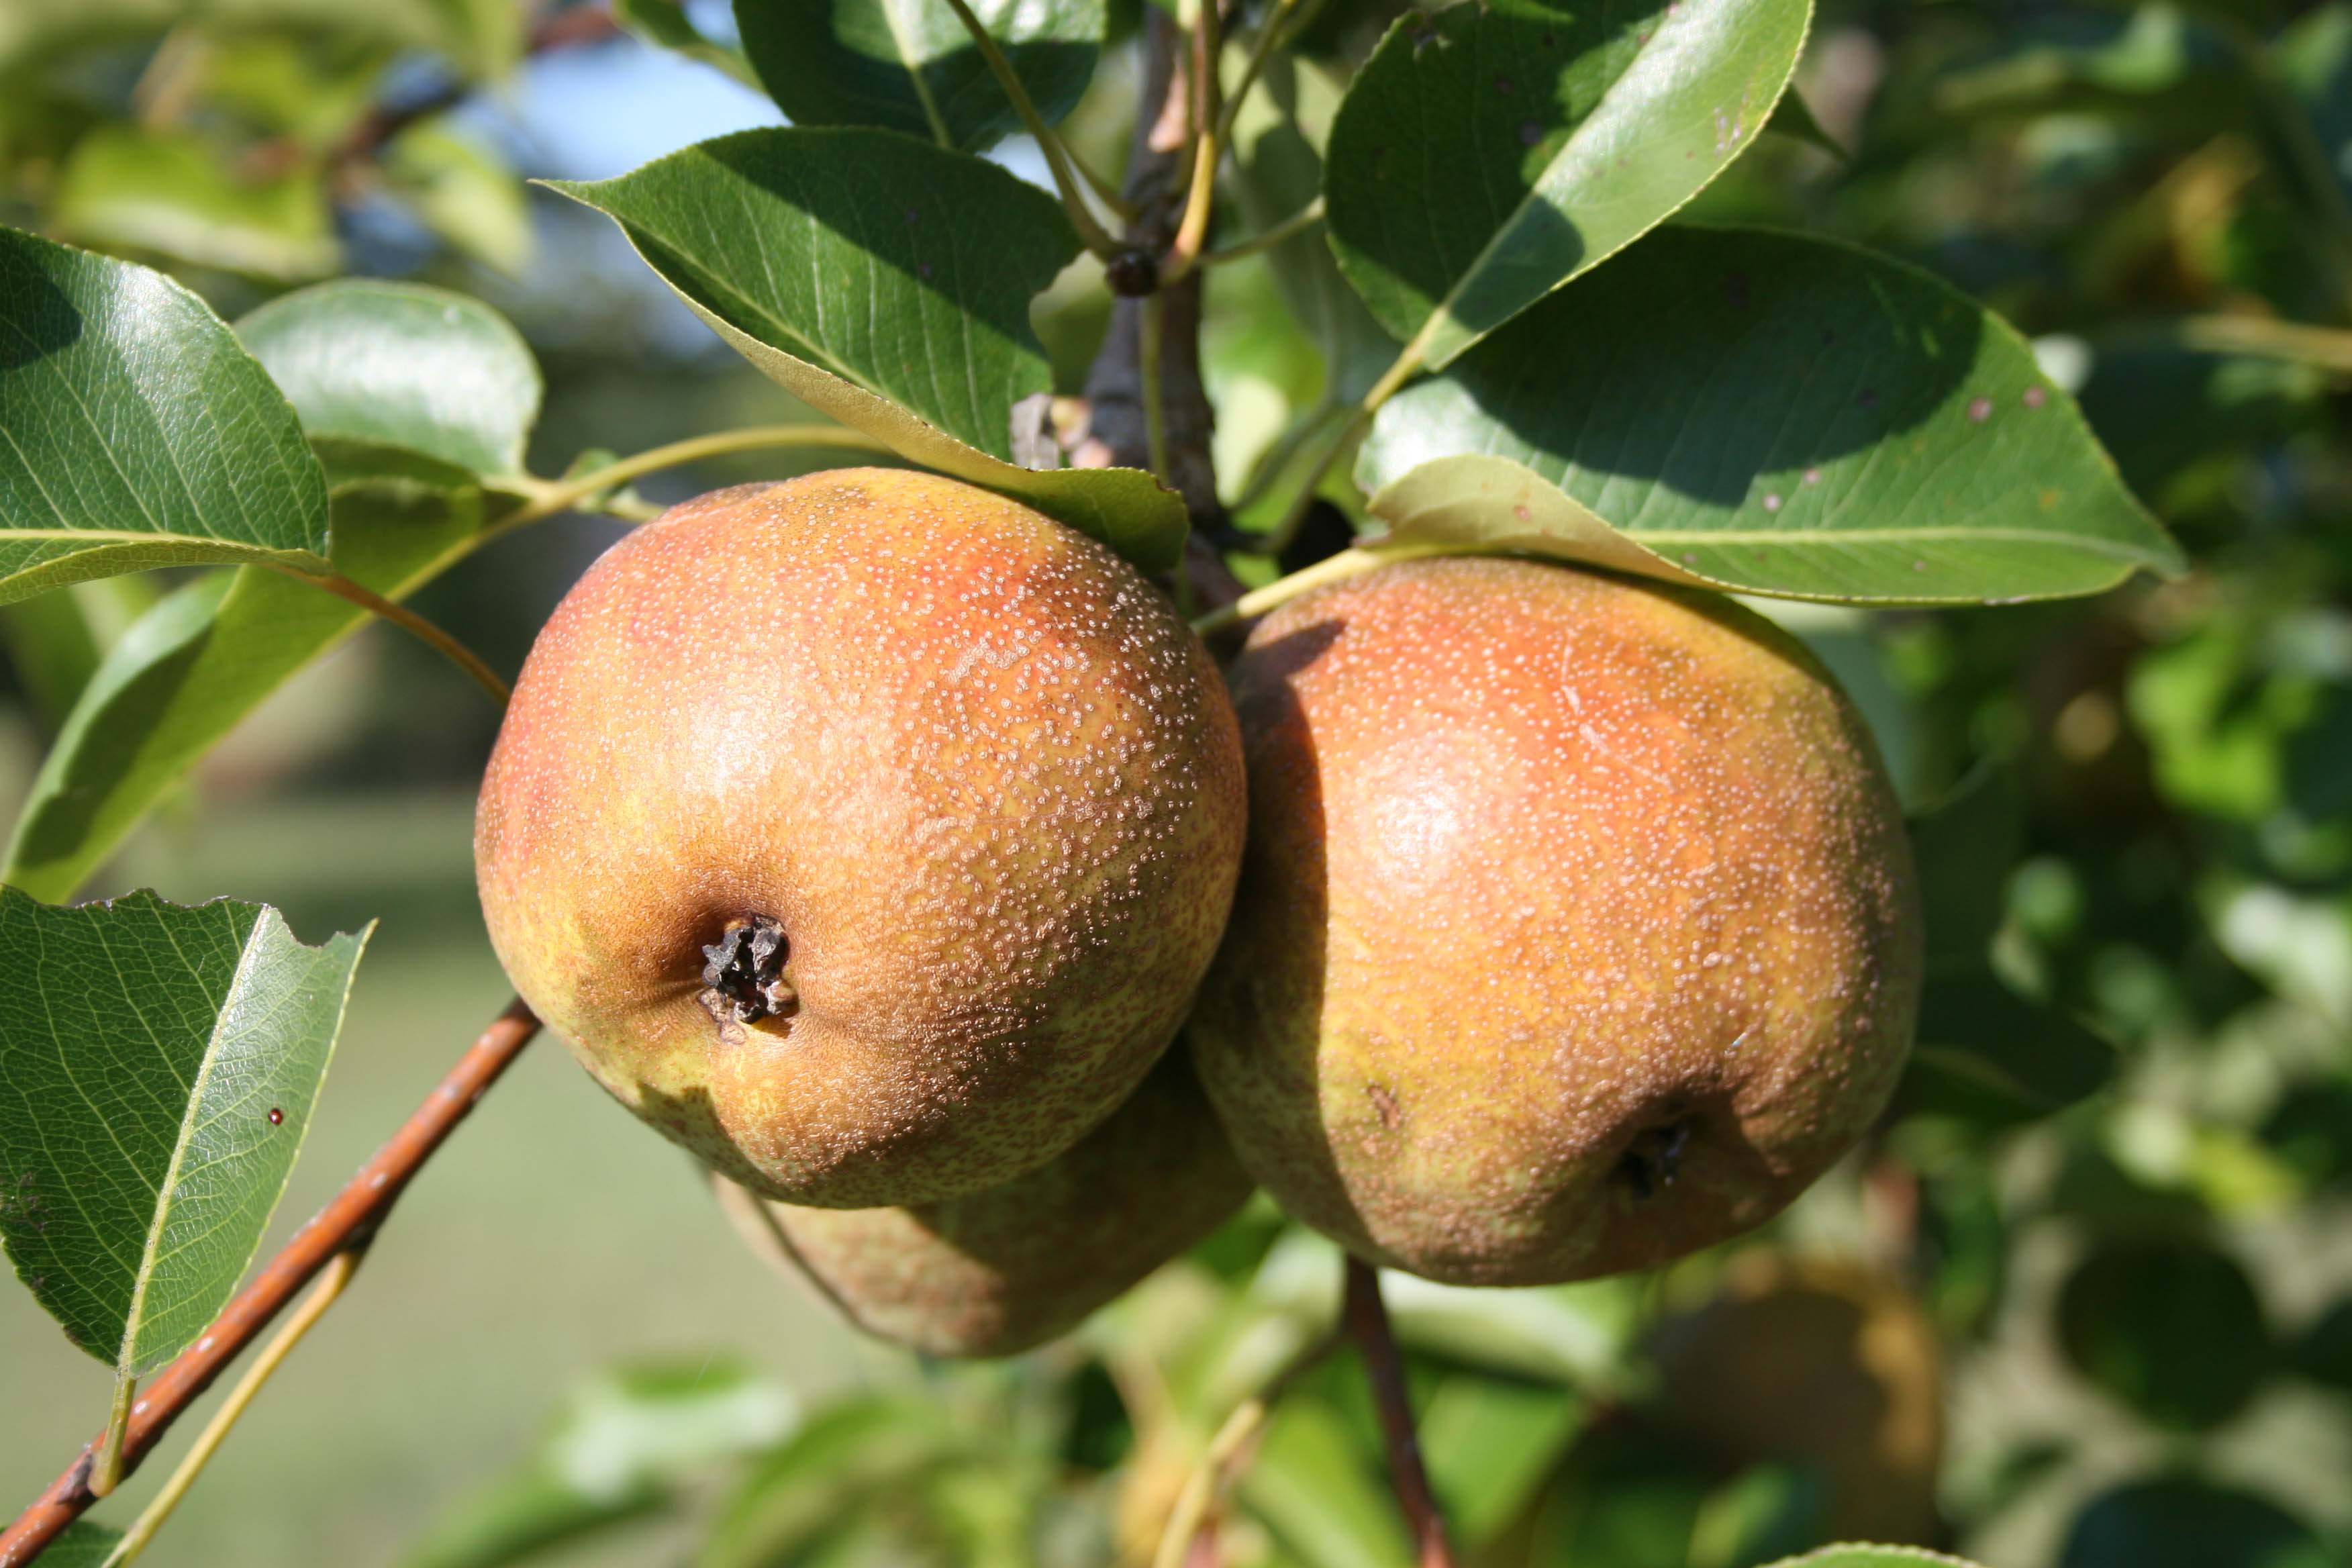
Plucking fresh fruit from your own orchard can be a delicious way to add beauty and flavor to your home landscape. The best time to plant fruit trees in Georgia is in the fall, according to a University of Georgia expert.
“Growing fresh fruit can be rewarding and fun but can also provide its share of frustration,” said Bob Westerfield, a UGA Extension horticulturist.
To start on the right path, choose an appropriate site.
“Fruit trees will grow and produce in a broad range of soil types, but the best yields and longest-lived trees occur on loamy, well-drained soil,” he said.
Avoid sites where water collects after a heavy rain and areas with poorly drained clay. Trees planted in full sun will yield the most fruit. A minimum of 6 hr of sunlight is needed for fruit trees to produce, but 8 to 10 hr is better.
Next, choose a young tree, about 1 year old.
“Experience has shown that younger trees bear almost as soon, are easier to keep alive and develop into more healthy vigorous trees than do oversized stock,” Westerfield said. “The older trees cost more to grow and are sold at higher prices, but are usually worth less.”
When digging the hole, bigger is better, Westerfield said.
“If planting container fruit trees, the hole should be at least twice the size of the root ball,” he said. “Holes for planting bare root trees should be wide enough to accommodate the longest roots so they can spread out.”
Do not add potting soil, fertilizer, or any other soil amendments to the planting hole. Backfill the hole with the soil you dug up.
Planting
To plant, hold the tree in place so the graft union is just above ground level. Begin filling the hole with soil. Be sure to tamp backfill soil thoroughly to eliminate air pockets. Add a few gallons of water to settle the soil before completely filling the hole.
Trees should be pruned immediately after planting. Cut the main shoot back to 30 in. above the ground at planting.
“This procedure allows branches to form at desired levels, improves the strength of the tree and provides a balance between the top and the roots,” Westerfield said. “Initial pruning is important. It will set the tone for the future growth of the tree.”
Prune trees in late winter when the weather is mild or in early spring before growth starts.
“Training the limbs of young trees is as important as making proper pruning cuts,” he said. “Those scaffold limbs selected to be the main framework should be spread out and held in a horizontal position to widen the angle with the main trunk and encourage early fruit bud formation and resulting early fruit production.”
Wait until spring to fertilize with 5-10-10 fertilizer.
Varieties
Many fruit cultivars can be planted in Georgia, but select varieties best adapted to your soil and climatic conditions.
Apple varieties suitable for the southern part of Georgia are Anna and Dorsett Golden, he said. Varieties that do well in the upper two-thirds of the state include Ginger Gold, Gala, Mollie's Delicious, Ozark Gold, Golden Delicious, Mutzu, Yates, and Granny Smith.
There are many varieties of figs available, but only a few are well adapted to Georgia. For the mountain regions, select a protected site and try Celeste or Hardy Chicago. In the Piedmont, Celeste, Hardy Chicago and Conadria are fairly well adapted. South of the fall line, any of the varieties listed can be grown, but Celeste and Conadria are two of the best. If you would like to extend the season with a late-ripening variety, plant Alma.
Recommended pear varieties for south Georgia include Hood, Floradahome, Baldwin, Spalding, and Warren. Orient, Carrick Waite, Kieffer, Magness, Moonglow, Starking Delicious, and Dawn do well in middle to north Georgia.
Japanese plum varieties recommended for Georgia include Methley, Morris, AU Rubrum, AU Producer, AU-Amber, Spring Satin, Byrongold, and Rubysweet.
Dwarf trees are perfect for home gardens, Westerfield said. They can produce fruit earlier than standard trees, occupy less space, and can be more easily pruned and sprayed.
“Whichever variety you choose, be sure it grows in your area of the state and be sure to provide a pollination variety if it needs one,” he said.
Apple, pear, and plum trees should be planted in pairs for pollination. Peaches and nectarines are self-fruitful. Your local UGA Extension office can provide information on the best varieties for your area and pollinator recommendations.
Leaves: Nature's Homemade Mulch
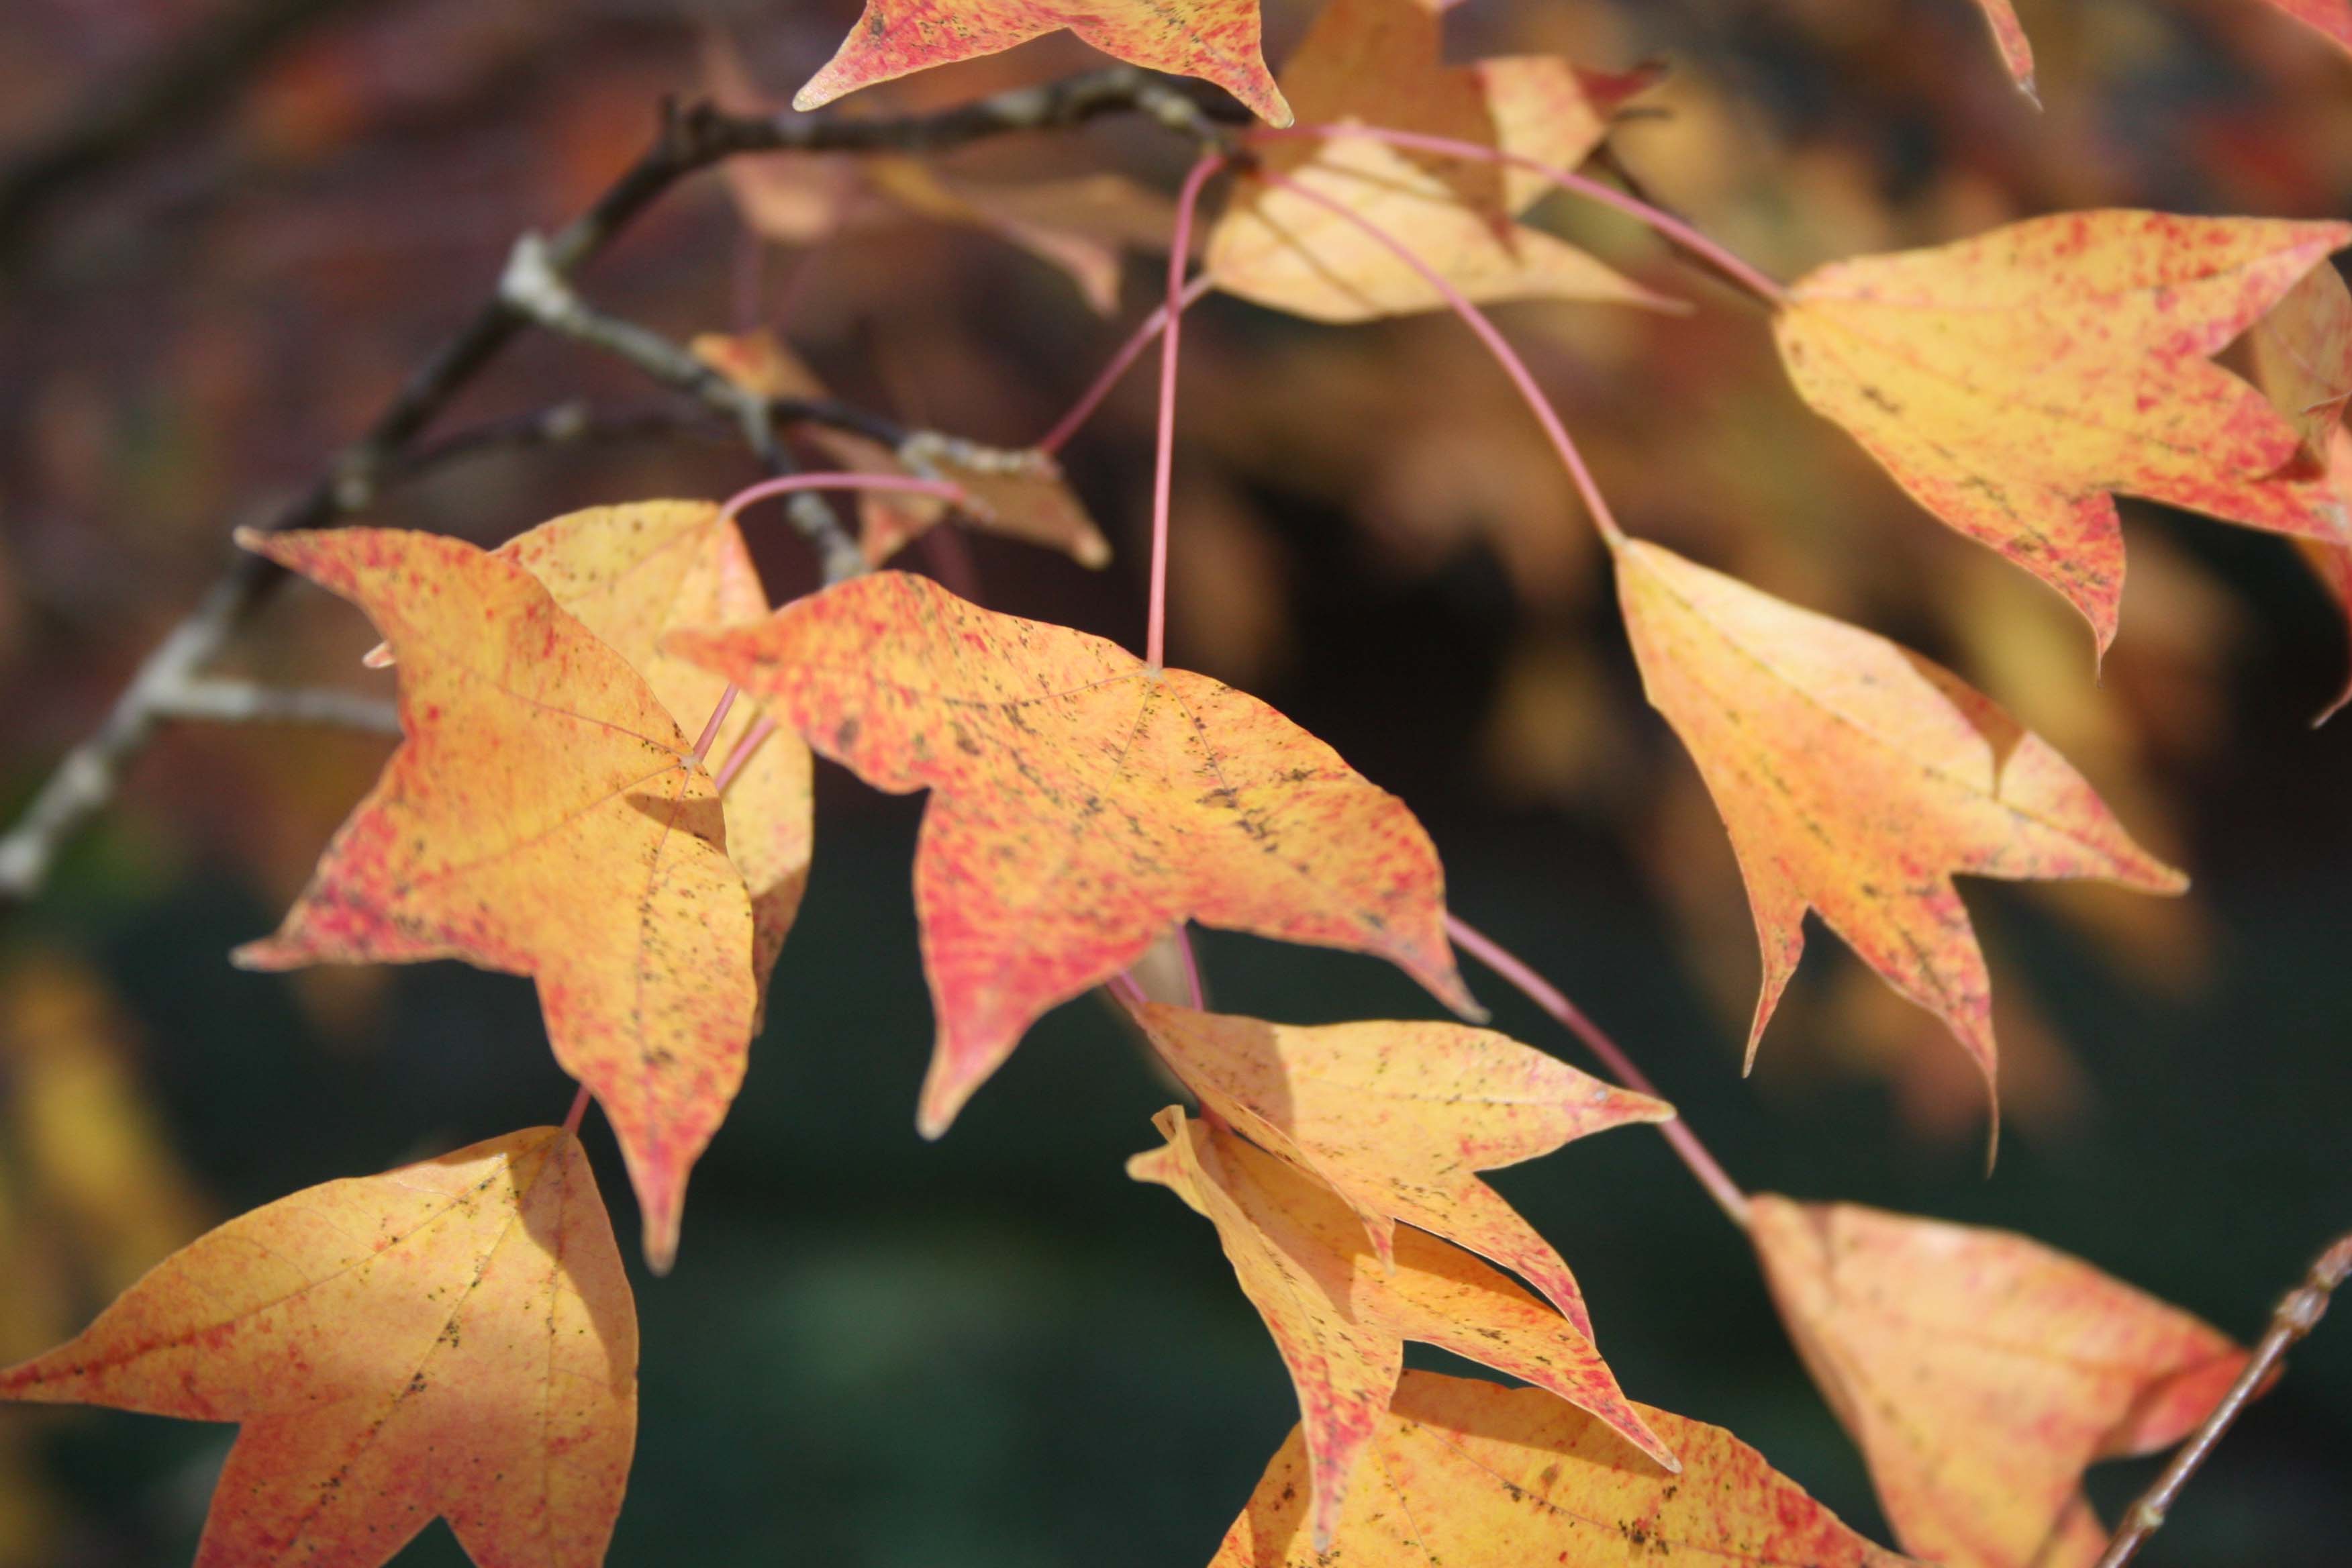
If you don't like raking, bagging, and dragging leaves to the curb, recycle your leaves into mulch. Leaves are nature's way of creating a natural blanket for protecting tree and plant roots from extreme cold temperatures.
If you remove leaves, you must replace them with some other mulch. Large, whole leaves tend to get blown around and don't stay within their landscape bed boundaries. The key to successfully using leaves for mulch is to shred them with a lawn mower, bagging attachment, or leaf shredder so that they won't blow away.
A 3- to 5-in. layer of shredded leaves can be used around trees, shrubs, annuals or perennials. If you don't like the look of shredded leaves, use them as a base under a top layer of bark or pine straw mulch. This will also reduce the amount of mulch that you need to buy. Leaves incorporated into the fall vegetable garden will become rich, dark humus by next spring.
Fall is the best time for planting trees, shrubs, vines, groundcovers, herbaceous perennials and cool-season annuals. Plants established in the fall require less water and are less likely to suffer from drought-related stress next summer.
Be sure to mulch new plants immediately after planting to reduce weeds and provide extra insulation. Even though these plants may go dormant on top, the roots underground will continue to grow all winter long. Mulch will help roots of newly planted trees and shrubs acclimate to the cold faster while they are becoming established this winter. When spring arrives, these plants will have well-developed root systems and be better prepared for possible drought.
Doing a Few Chores Now Will Prepare Your Garden for Later
For those who enjoy gardening year-round, winter vegetables such as broccoli, cauliflower, cabbage, and an assortment of greens can be grown in the fall and winter. I like fall gardening because the temperatures are usually mild, disease pressure can be low if it's dry and insects can be less troublesome after the temperatures drop. But for those who are ready for a little break from the vegetable garden, there are a few things you should do before you put your summer garden to bed.
It's interesting to see how long the summer garden, planted way back in the spring, may last. I have pulled tomatoes and okra literally throughout October in years Georgia had a late frost. Other years, an early cold spell terminated those late-harvest plans.
When I first started gardening more than 25 years ago, there were times when I just gave up on the late-summer garden and let it lay idle throughout the fall and winter. I now know that is about the worst thing a gardener can do.
Many diseases and insects love to overwinter in crop residue from the past harvest and will be out in full force the following spring if left unchecked. Another problem is that old, over-mature vegetables will die on the plants and disperse seed that will ultimately germinate next spring where you don't want them. This second generation of seed may well have cross-pollinated, producing plants that are inferior and different from what you actually planted.
Always pull up expired crops at the end of the season. Not doing so will create problems. Besides, those old corn stalks will make a great fall porch decoration.
The fall is a great time to work on conditioning your soil. If it's been more than two years, take a soil sample to your local University of Georgia Cooperative Extension office. You need to know the pH of the soil. Fall is the best time to add lime if needed, as it takes several months for it to actually adjust the soil pH.
If it isn't too wet, I till the garden to expose any insects, nematodes and soil pathogens to the cool, dry weather. This is a perfect time to add amendments such as compost or other organic matter like manures. Sometimes I spread fallen tree leaves over the garden and till them in. They break down quickly into rich organic matter. Shred the leaves first under the lawn mower or in a chipper and they will break down even faster.
After I have worked the soil and added organic matter, I plant a cover crop in areas of the garden that are not planted in winter vegetables. Cover crops offer several benefits. They help prevent erosion and add organic matter to the soil when tilled in early spring. And I think it looks good to have a bright green area of cover crops in your garden when everything else is brown and dormant.
If you plant crimson clover, you will be rewarded with a show of color when it blooms in the spring. I usually plant a combination of at least two types of seed mixed together, such as wheat or oats as a grass with a few pounds of crimson clover. The clover is a legume, or nitrogen-fixing plant, that will actually help the grass crop grow. In return, the wheat or oats act as a nurse crop to the clover, which is slower to establish and needs a little protective shade from the grass.
Clover should be inoculated first with the appropriate bacteria to aid in germination. A feed store or garden center should be able to assist you with getting the proper inoculum. An alternative might be to buy commercially produced wildlife mixes that are often planted for deer and turkey. These mixes come pre-inoculated. Remember to give cover crops some initial fertilization to get them started. About 15 lb of 10-10-10 per 1000 sq ft should be sufficient.
Clean and Oil Garden Tools for Winter Storage
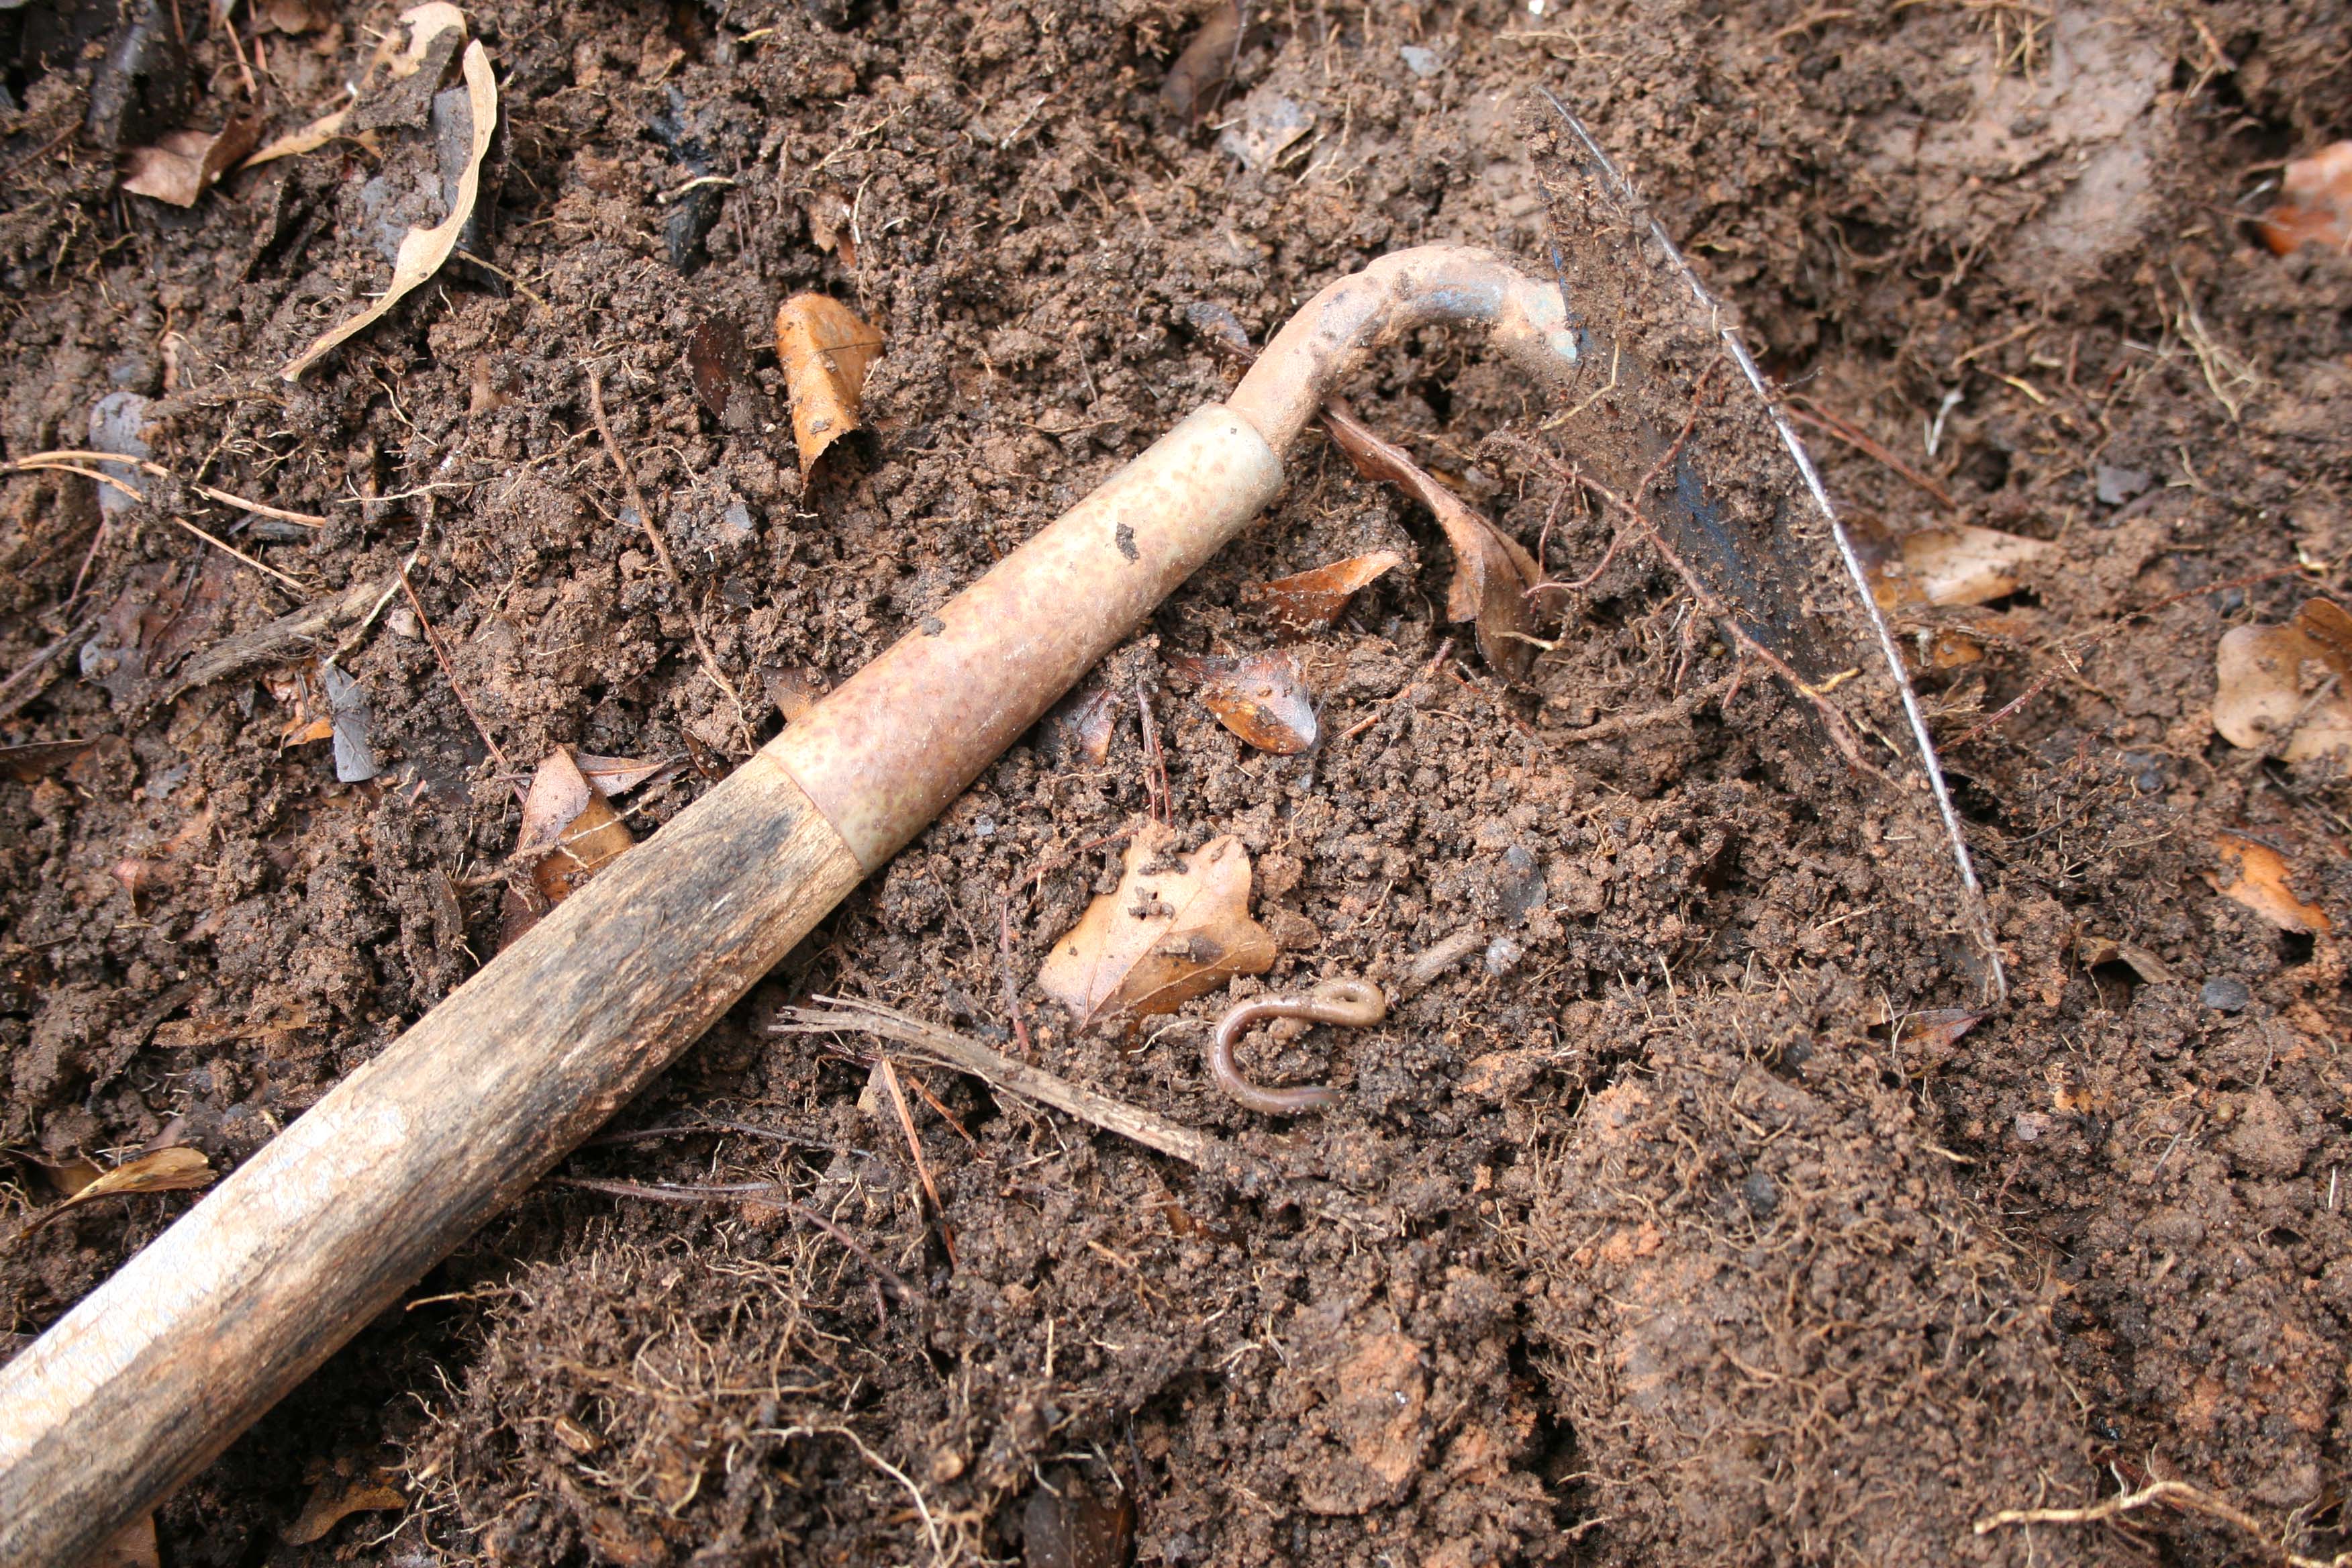
If you don't plan to grow a fall garden, fall can be the perfect time to inspect, repair and clean your gardening tools.
“As a gardener, nothing is more frustrating than to pull gardening tools out in the spring and find hoes that are rusty or broken, a tiller that won't crank or an irrigation system with a blown gasket,” said Bob Westerfield, a University of Georgia Cooperative Extension consumer horticulturist.
Westerfield plants vegetable gardens at work for research and at home to provide his family with fresh fruits and vegetables.
“When I get calls from gardeners, most likely I've faced the problems they are facing either in my research plots or at home,” he said.
Tony Johnson, the horticulturist at the UGA Research and Education Garden in Griffin, GA, agrees. Johnson helps UGA scientists maintain their research plots. He does it on a limited state budget.
“Gardening tools and supplies are expensive,” Johnson said. “With a little care and forethought, you can help your tools last from season to season.”
Westerfield and Johnson offer the following checklists for packing away garden tools for the winter.
Tiller and Mower
- Empty the garden tiller of fuel or add a fuel stabilizer.
- Check the spark plugs, change the oil and clean the air filter.
- Clean the underside of the mower's deck with a pressure washer and scrape off any old grass and debris.
Shovels, Hoes and Other Tools
- Thoroughly clean all tools with soap and water.
- Sharpen blades.
- Clean metal parts with steel wool, wipe dry and apply a light coat of household oil.
- To save time in the spring, sharpen tool edges.
- Smooth wooden handles by sanding them with sand paper. Then coat handles in linseed oil or paint them to preserve the wood.
- Store all rakes with the teeth pointing down. Stepping on an exposed rake can be dangerous for children and adults.
Irrigation
- Drain irrigation lines and clean and inspect them for cracks before rolling them up. Store them out of the sun in a shed or garage.
- Connect hose ends to keep insects from hibernating in hoses.
- Do not hang hoses directly on a nail. The weight of the hose will create permanent kinks. Nail a coffee can or other round form on the wall, then roll the hose around the form.
- Inspect and lightly lubricate sprinkler heads.
- Clean and dry out the water timer.
Tomato Cages
- Clean off tomato cages and stack them out of the way.
- Repair any cages that have been damaged.
Sprayer
- Fertilizer or pesticide sprayers should be triple-rinsed with water or a little ammonia.
- Check the hose tip for debris before storing the sprayer for the season.
Johnson also uses the fall to take an inventory of gardening tools and supplies. “Then I have a head start on my Christmas list,” he said.
Fire Ant Treatment Time
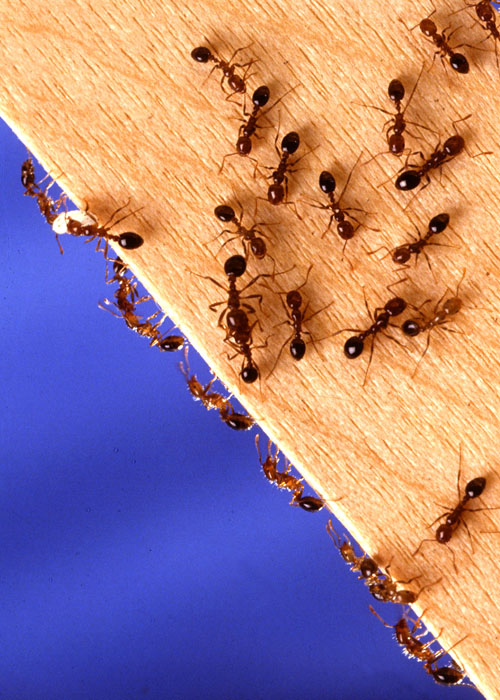
It's that time of year again. School is back in session, football is around the corner, fall harvesting will begin, and it's prime time for fighting fire ants.
Fire ants are most active in warm weather. Most people treat when they see active fire ants, but fall is the best time to fight them, according to a UGA entomologist. Fire ant season can last 10 to 11 months out of the year in the most southern areas of Georgia.
“April and September are good times to apply baits, once at the start of the season and toward the end to help control before they come back in the spring,” said Will Hudson, a professor with the UGA College of Agricultural and Environmental Sciences.
Controlling ant colonies before they produce a mound is important. But, Hudson says that once a treatment program is in place, application timing is not all that important.
Baits and Sprays
More than 100 insecticide brands are labeled or cleared for control of fire ants in Georgia. Baits mix slow acting insecticides with granules of foods fire ants relish and work well because the ants carry the insecticides back to the mound.
Baits do best on larger properties. The general rule of thumb is if the area is one acre or less, don't use baits. Re-infestation is more likely from colonies outside of the yard when baits are used.
One important thing to remember is the difference between “no mounds” and “no ants.”
“There is a difference between eliminating ants and controlling them,” Hudson said. “Baits do not eliminate ants because there is no residual control. A new colony can still come in and be unaffected by the bait laid down prior to their arrival.”
To eliminate mounds completely, apply baits every 6 months, he said. “There will be invasion in the meantime, and you will still have fire ants, just not enough to create a new mound,” he said.
The least effective treatment option for most people is individual mound treatments, according to Hudson. Killing an entire colony by treating just the mound is a challenge, he said.
Hudson recommends treating lawns with a registered insecticide in either a liquid solution or with a granular product. Measure the area to be treated carefully to be sure you apply the correct amount of material. It is also important to get good, even coverage, which works well with a hose-end sprayer. This treatment should rid the lawn of fire ants for 1 to 3 months.
Minimal Impact
Baits are considered to have minimal environmental effects because ants carry them back to the mound within hours of application. This targeted approach gives good control with very low insecticide doses.
Nonchemical options include using steam or boiling water.
“We recommend using boiling water to treat a mound near an area such as a well where you do not want any chemicals,” Hudson said. “Using hot water is very effective, but the problem is you are not always able to boil the water right next to the area you want treated.”
Boiling water can inflict serious burns, so extreme caution should be used when treating with this method.
Some homeowners prefer organic fire ant control options. Pesticides approved by the Organic Materials Review Institute (OMRI) are certifiable as organic. Baits and mound treatments with OMRI-approved formulations of the active ingredient spinosad are the most effective organic options.
“While there are a few products that qualify as organic, with most baits the actual amount of pesticide applied is minimal,” Hudson said.
Realistic Expectations
Product labels can be confusing, sometimes even deceptive, and it can be difficult to make the right choice. For assistance in selecting a product, contact a pest control professional or your local UGA Cooperative Extension agent.
“The most important thing to remember is that you need is to be realistic in your expectations,” Hudson said.
Expert Advice and Free Resources Help Your Garden Grow Year-Round
As you plant fall vegetables, bring plants inside on cold nights and dream of what your landscape will look like next spring, take a moment to check out some of these free resources written by University of Georgia Cooperative Extension experts.
“Home Gardening” explains everything you need to know about growing a successful home vegetable or herb garden, including location and planning, soil preparation, choosing what to plant and how to tend to it, fertilizer, weed control, mulching and composting, watering, pollination, disease and insect control, harvesting, and freezing, canning and preserving.
The “Vegetable Garden Calendar” is a handy reference for knowing when to plant vegetables to keep your garden producing year-round. You can also learn how to keep your garden healthy with “Disease Management in the Home Vegetable Garden.”
With scorching days and balmy nights, winter might seem like it will never arrive. Plan ahead for those cold nights with advice from “Winter Protection of Ornamental Plants” and learn how the pros make those pansy beds look perky all winter in “Success with Pansies in the Winter Landscape: A Guide for Landscape Professionals.”
“Flowering Bulbs for Georgia Gardens” describes the wide variety of bulbs that grow well in Georgia as potted plants, in shrub borders, as naturalistic plantings and in mass displays.
Even when there's frost on the ground you can still have a lush, green garden by creating an indoor oasis. Experts share their advice in “Growing Indoor Plants with Success” and “Gardening in Containers.”
And when those first days of spring finally start to beckon you into the garden again, make sure you're ready to create a beautiful landscape by doing some basic preparations first.
These resources will help you lay a good foundation for your vegetable and flower gardens: “Basic Principles of Pruning Woody Plants,” “Soil Preparation and Planting Procedures for Ornamental Plants in the Landscape,” “Soil Testing for Home Lawns, Gardens and Wildlife Food Plots,” and “Make Every Drop Count: Proper Planting Results in Healthy, Water-Efficient Plants.”
UGA Extension offers more than 600 free, research-based publications to help you learn about everything from planting the perfect vegetable garden to raising a backyard chicken flock, and from identifying stinging and biting pests to determining if your agribusiness is feasible. For more information, go to https://extension.uga.edu/publications.
Status and Revision History
Published on Oct 28, 2010
Published with Full Review on Oct 01, 2013
Published with Minor Revisions on Feb 02, 2023


